Appium is an open source cross-platform automation tool. It can be used for automation of iOS and Android native, web and hybrid mobile apps. Now that we have seen how to setup Appium for Android app automation, we’ll cover Appium iOS setup in this tutorial.
To setup Appium for iOS automation, you will need Xcode. That means Appium iOS setup can only be done in Mac OS. Automation is possible on actual iOS device or simulator. In our example, we will automate UICatalog app on simulator. But you can as easily use your actual iOS device. It’s just a matter of changing one of the “capabilities”. As for programming language, we will be using Java here.
This tutorial is divided in two parts: 1) Setting up required dependencies for Appium and 2) Executing a simple test case on simulator. If you already have environment setup for Appium, you can directly jump to part 2.
1) Setting up required dependencies for Appium iOS setup:
- Download and install Xcode in your Mac system.
- Download Appium. Unpack downloaded dmg file and move it to Applications folder.
- Download sample iOS app(UICatalog) from here.
Once the above setup is done, we can now proceed to automate a simple test case using Appium.
2) Executing a simple test case on iOS simulator:
- Open Xcode from Applications folder.
- Start iOS simulator from Xcode–>Open Developer Tool–>iOS Simulator option.
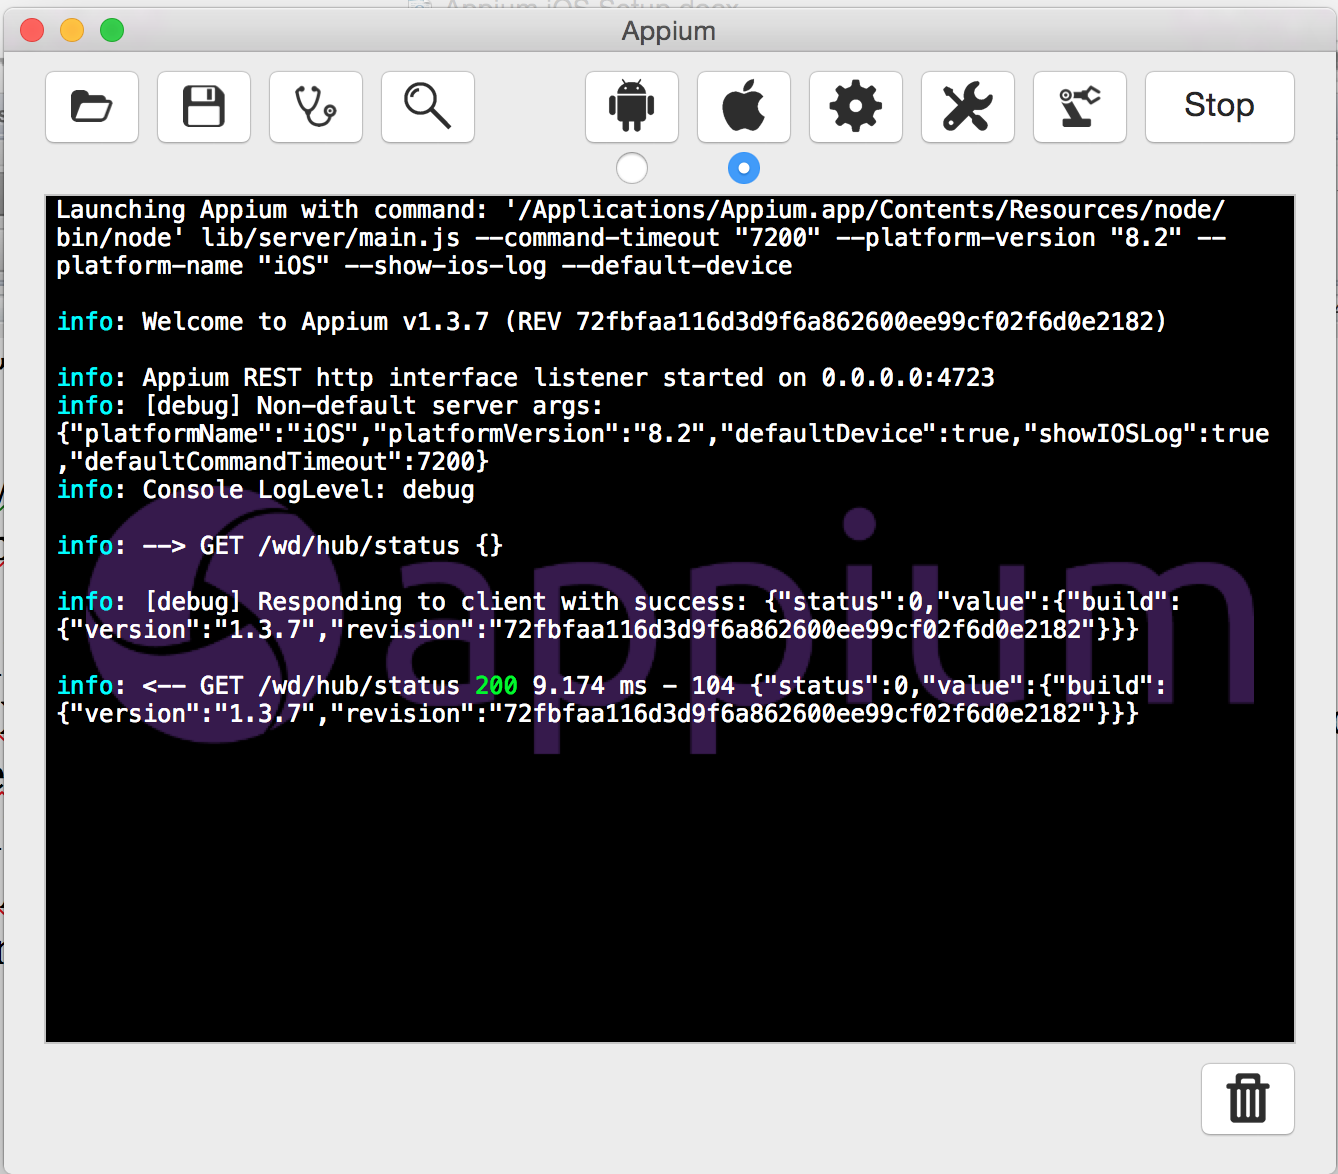
- Click Appium icon from Launchpad/Applications. Appium console should be opened.
- Select Apple icon from Appium console and click Launch button. Appium server should start at http://0.0.0.0:4723/wd/hub address as shown in below image.
Open Eclipse and write below code in your Class file. You will need to reference Appium Java Client JAR and Selenium JAR in your project.
package com.AppiumTest;
import io.appium.java_client.ios.IOSDriver;
import java.net.MalformedURLException;
import java.net.URL;
import org.openqa.selenium.By;
import org.openqa.selenium.remote.DesiredCapabilities;
import org.testng.annotations.AfterMethod;
import org.testng.annotations.BeforeMethod;
import org.testng.annotations.Test;
public class AppiumiOSTest {
private IOSDriver driver;
@BeforeMethod
public void setUp() throws MalformedURLException {
DesiredCapabilities caps = new DesiredCapabilities();
caps.setCapability("platformName", "iOS");
caps.setCapability("platformVersion", "8.2"); //Replace this with your iOS version
caps.setCapability("deviceName", "iPhone 6"); //Replace this with your simulator/device version
caps.setCapability("app", "/Users/username/Downloads/UICatalog.app"); //Replace this with app path in your system
driver = new IOSDriver(new URL("http://0.0.0.0:4723/wd/hub"), caps);
}
@Test
public void testiOS() throws InterruptedException {
driver.findElement(By.xpath("//UIAApplication[1]/UIAWindow[2]/UIATableView[1]/UIATableCell[1]/UIAStaticText[1]")).click();
driver.findElement(By.name("Back")).click();
}
@AfterMethod
public void tearDown() {
driver.quit();
}
}
- Run your Test!
We hope you would be able to perform successful Appium iOS setup using above instructions.
Comments
Post a Comment